

Locations
An organization can run several venues. In Spatial Ops Manager each venue is a location, with its own manager accounts, headsets, maps and marker sets, and its own usage count. Billing and custom images belong to the organization: one payment method and one bill cover every location — see Maps, headsets and images across locations and Billing and Payments.
When you create an organization, its first location is created with it and takes the organization’s name.
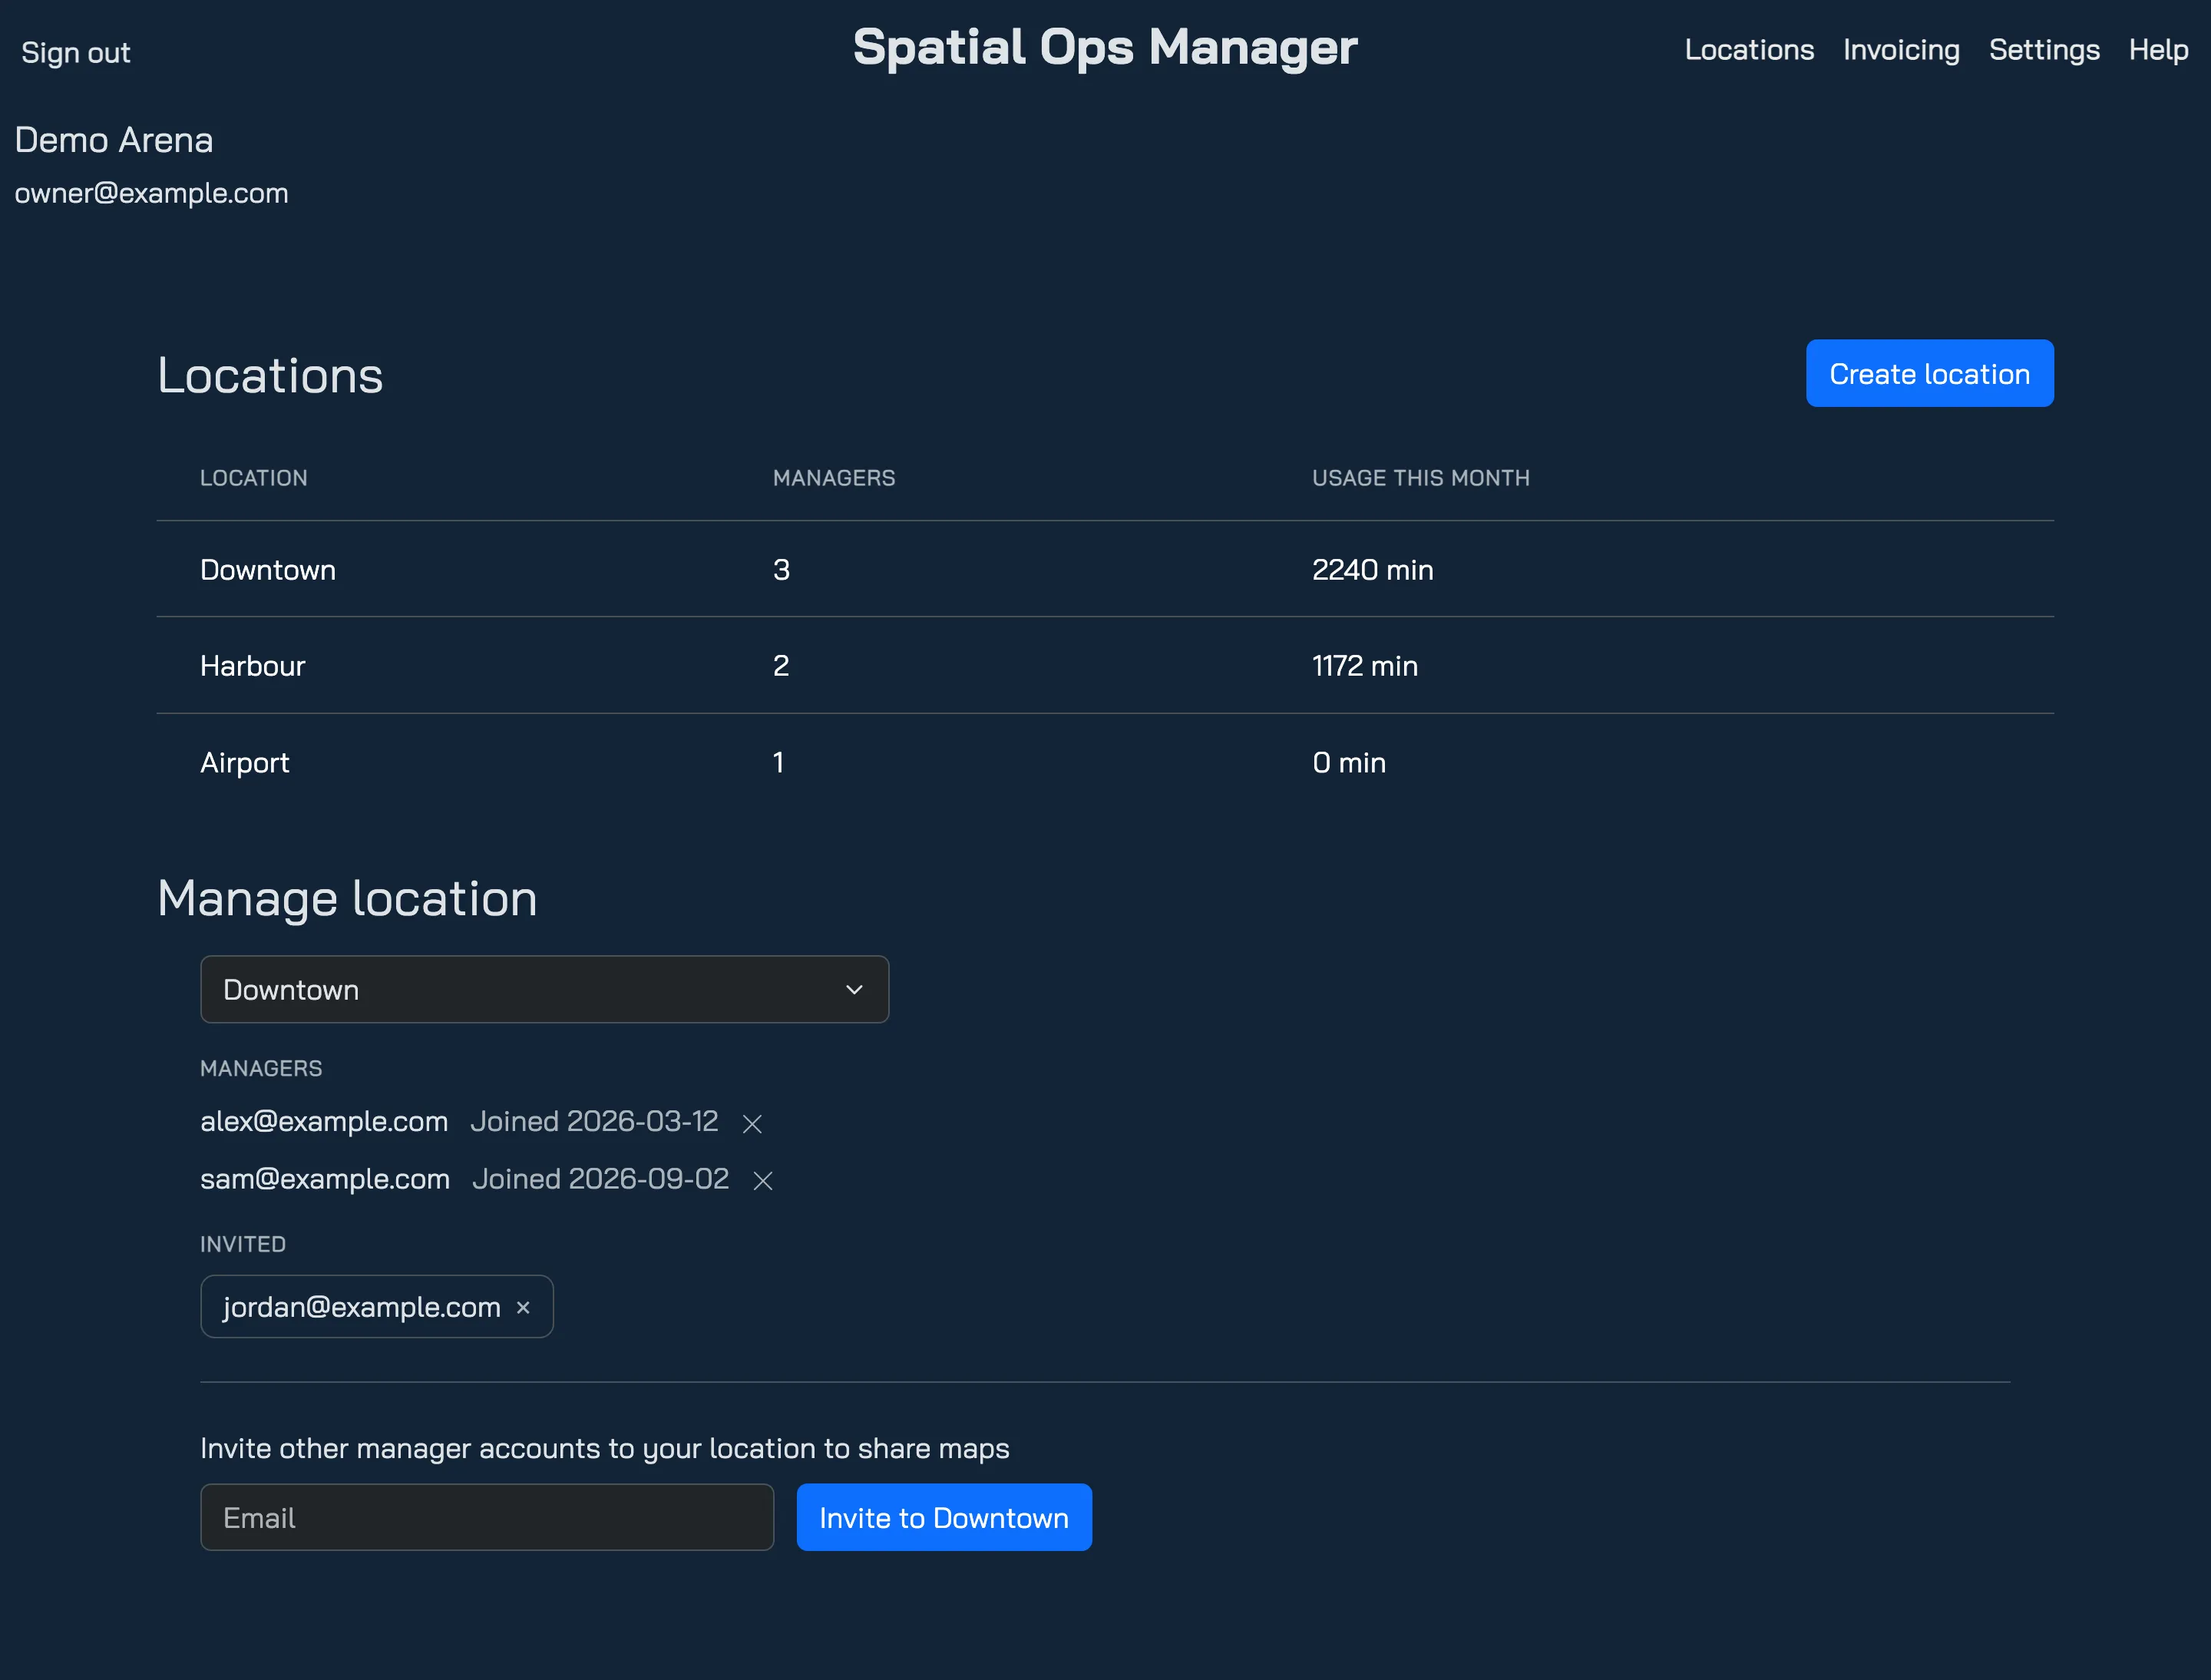
The Locations page
Section titled “The Locations page”Select Locations in the top menu. The table lists each location, how many manager accounts belong to it, and its active gameplay minutes so far this month.
The organization owner sees every location in the organization. Other managers see the locations they belong to.
Create a location
Section titled “Create a location”Only the organization owner can create locations.
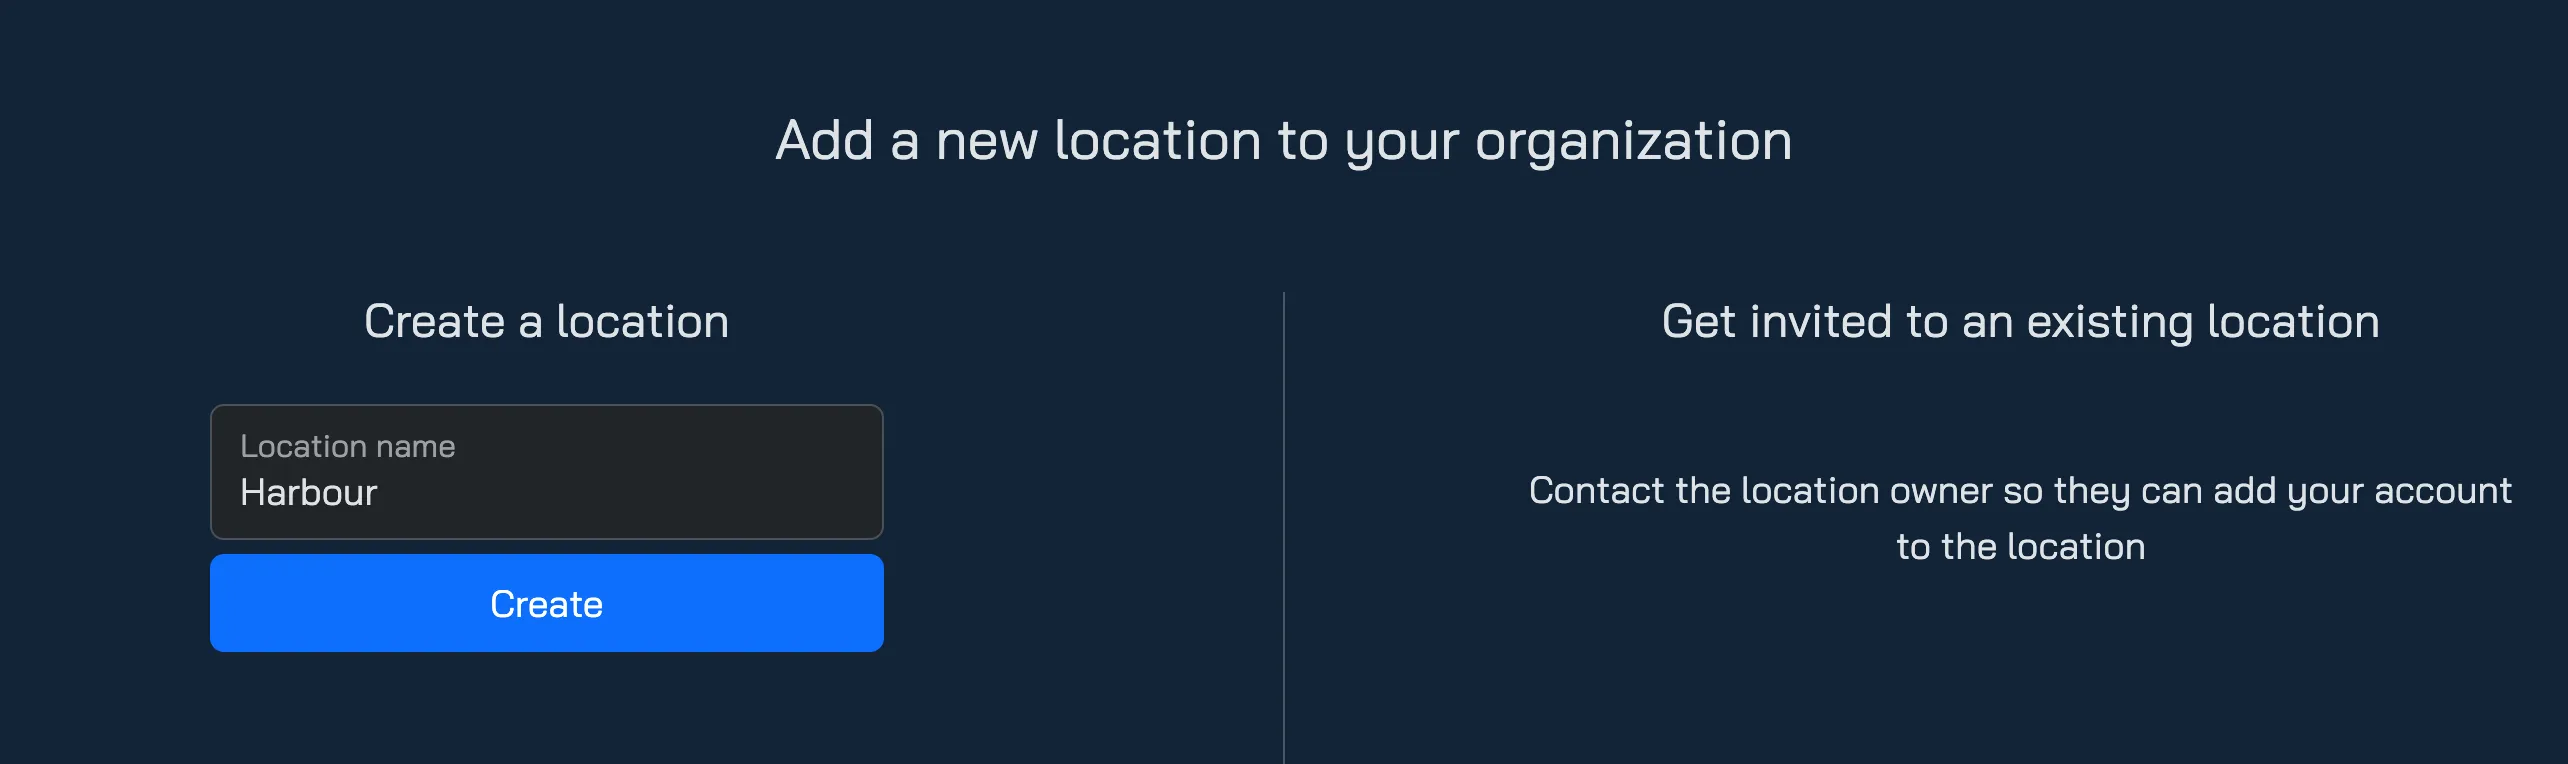
- On the Locations page, select Create location.
- Enter a name for the location and select Create.
Location names are unique across Spatial Ops, so a name already used by another venue is refused with “Name already taken”.
Manage a location
Section titled “Manage a location”Under Manage location, choose the location from the list (the list appears once there is more than one). For that location you see:
- Managers — the manager accounts in the location and the date each one joined. The owner can remove a manager with ×.
- Invited — invitations that have not been accepted yet. The owner can withdraw one with ×.
Invite managers to a location
Section titled “Invite managers to a location”Only the organization owner can send invitations. Invitations are per location: a manager joins the locations they are invited to.
- Ask the person to create a Manager account — without creating an organization of their own.
- On the Locations page, choose the location under Manage location.
- Enter the email address of their account and select Invite to location name.
- They sign in at manager.spatialops.com, open Invitations in the top menu, and accept (✓) or decline (×).
A manager account can belong to several locations of the same organization, but not to locations of two different organizations.
Choose the location in the Manager app
Section titled “Choose the location in the Manager app”If your account belongs to more than one location, choose which one the Manager app runs in Settings → General → Location. The setting is available from the main menu, not during a session. The app remembers your choice for your account the next time it starts. If the saved location can no longer be loaded, the app falls back to your default location and tells you.
Maps, headsets and images across locations
Section titled “Maps, headsets and images across locations”- Maps belong to one location. A map saved on a headset is stored in that headset’s location. The Manager app shows and hosts only the maps of the location it is running, so maps from your other locations do not appear there. To bring maps to another location, see Move a headset and its maps to another location.
- A new location starts with only a default map. Its other maps come from headsets: linking a headset uploads every map stored on it, and saving a map in a linked headset’s Map Editor uploads that map.
- Minutes count toward the location the Manager app is running when the session is played. This does not change the bill, since all of an organization’s locations are added together, but it decides where the minutes appear under Invoicing.
- A headset normally belongs to one location — the one it is linked to. Linking a headset that belongs to another organization moves it to yours, after a confirmation.
- In a session, headsets play the Manager’s maps. The map, including its markers, comes from the location selected in the Manager app, not from the files stored on the headset.
- Match invitations go only to the headsets of the location selected in the Manager app.
- Marker sets and Photon region settings belong to one location.
- Custom images are shared by the whole organization. Images uploaded under Custom Images at one location can be shown by maps at every location, and accepting the mod.io terms once covers all of them.
- Locations cannot be deleted once created.
Move a headset and its maps to another location
Section titled “Move a headset and its maps to another location”There is no action that copies a map from one location to another. Maps travel with headsets instead: linking a headset at a location uploads every map stored on it. The maps are copied, so the old location keeps its own copies.
The headset must still have the maps stored on it and be on the same network as the Manager.
- In the Manager app, select the headset’s current location under Settings → General → Location, host a session, let the headset join, open its card and choose Unlink.
- End the session, select the new location, host again and let the headset join. Its card is marked Unlinked: click it and confirm, as in Add and Link Headsets. The headset moves to the new location and uploads every map stored on it.
If the headset belongs to only one location, you can skip step 1: linking it from the new location moves it anyway, after a confirmation.
A move also uploads each headset’s default and tutorial maps, so the new location can receive several copies of Default Map 1. You can delete the extra copies with Remove Map in the Manager app.
To bring over a single map instead, open it in the Map Editor of a headset linked to the new location that has the map stored on it, and save it.
Location settings
Section titled “Location settings”Under Settings → Location, choose the location (if you have several), then:
- Change the location name — owner only.
- Leave location — any manager except the organization owner.
- View licence agreement — read the licence that applies to the location. When a new or updated licence needs accepting, a banner asks the location owner to accept it.